Einstein Case Classification : Automate Support with Twopir Consulting
Introduction:
Einstein Case Classification leverages machine learning to recommend or automatically populate fields on Case records in Salesforce. It reviews an organization’s most recent six months of closed cases to offer predictive assistance with picklist or checkbox fields, helping agents resolve cases more quickly and accurately.
Steps to Configure Einstein Case Classification:
Step 1: License Acquisition
To access the premium features of Einstein Case Classification, such as automatic field updates and case routing, you’ll need the Service Cloud Einstein add-on license, which includes support for up to five models per app. Contact your Salesforce Account Executive for more details, or start experimenting with a scratch org by selecting “Classify Citizen Requests.”
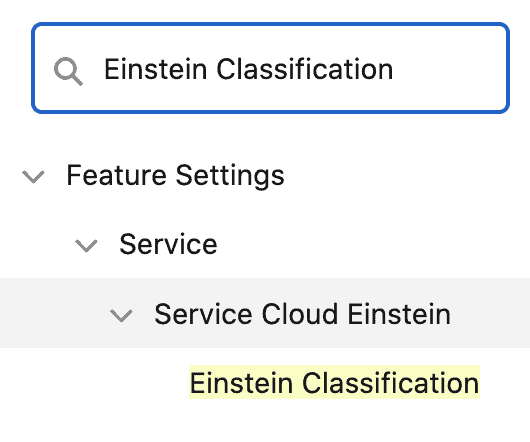
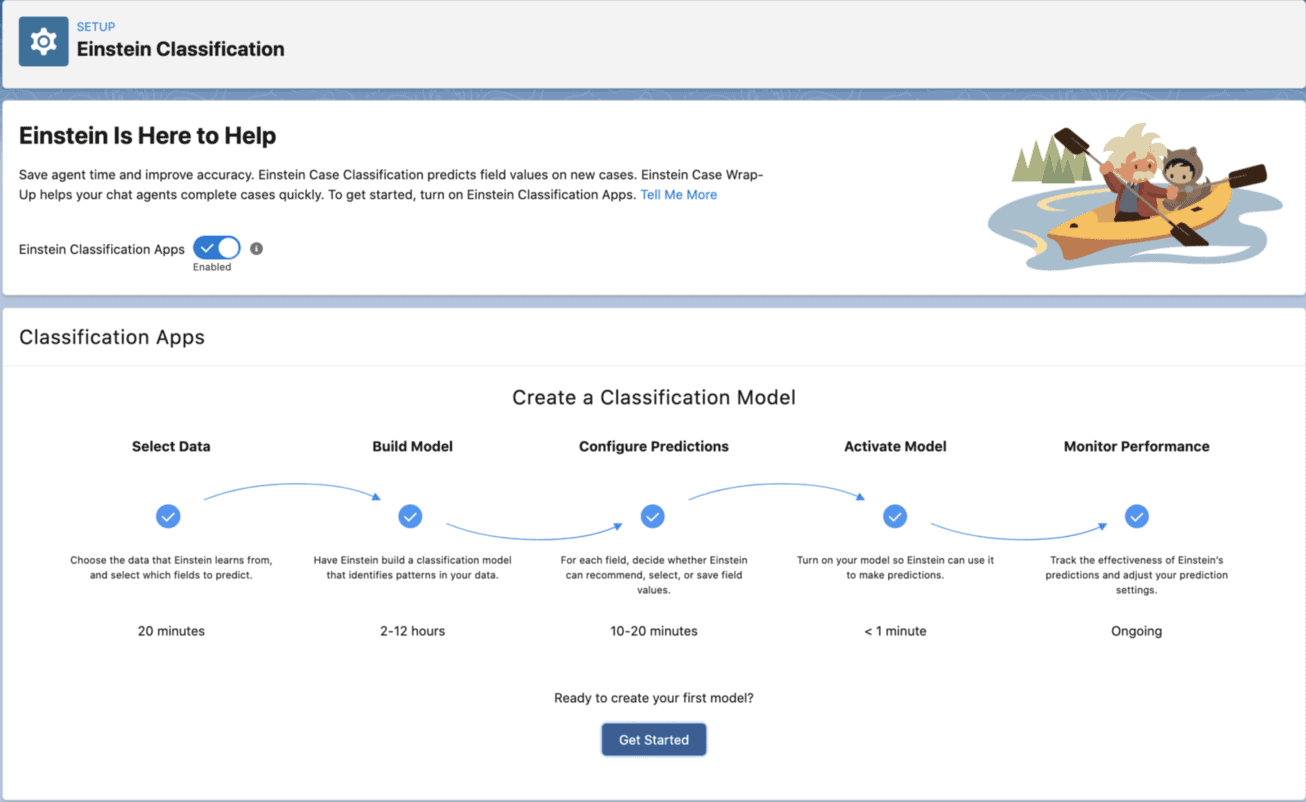
Step 2: Enable Einstein Classification
In Setup, enter “Einstein Classification” in the Quick Find box and select it. Toggle the switch to enable Einstein Classification Apps.
Step 3: Start the Setup Process
On the Einstein Classification setup screen, click Get Started.
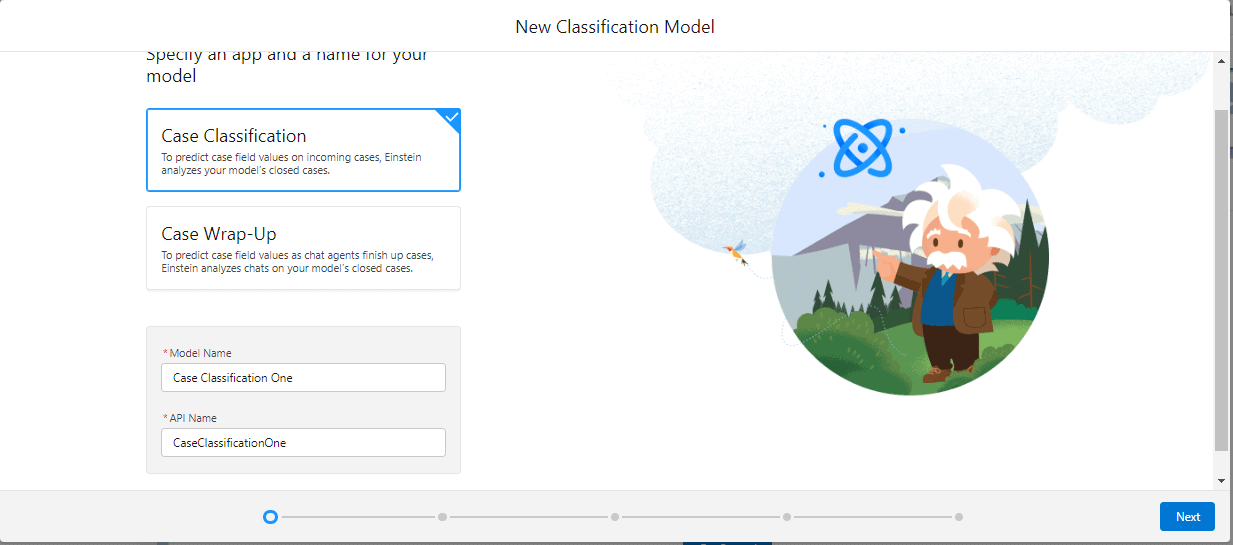
Step 4: Choose Case Classification
On the next screen, select Case Classification, name your model, and proceed to the next step.
Step 5: Select Cases for Predictions
You can choose between all new cases or cases specific to a particular business unit or category to feed into the model.
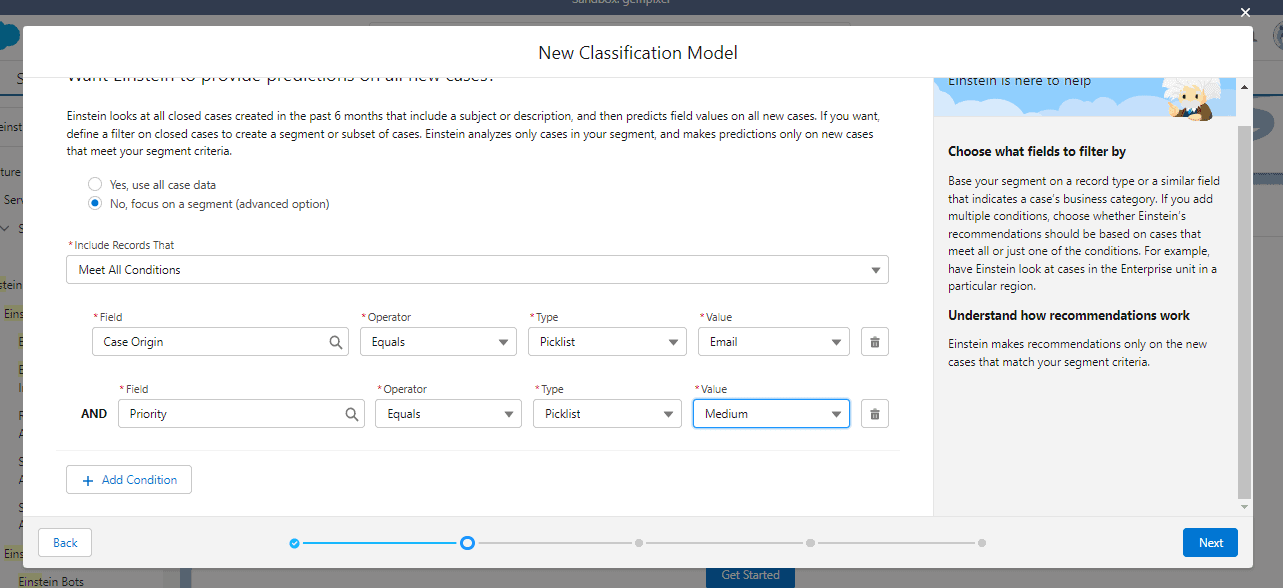
Step 6: Choose Data Sources for Predictions
Decide whether the model should consider all recent cases or a specific subset of cases for generating predictions.
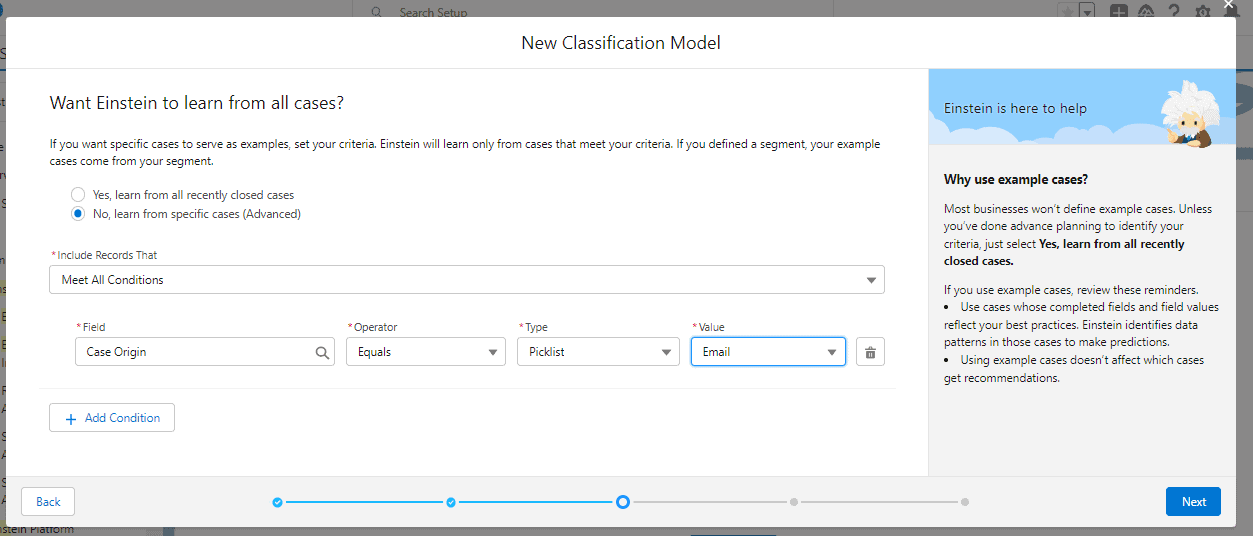
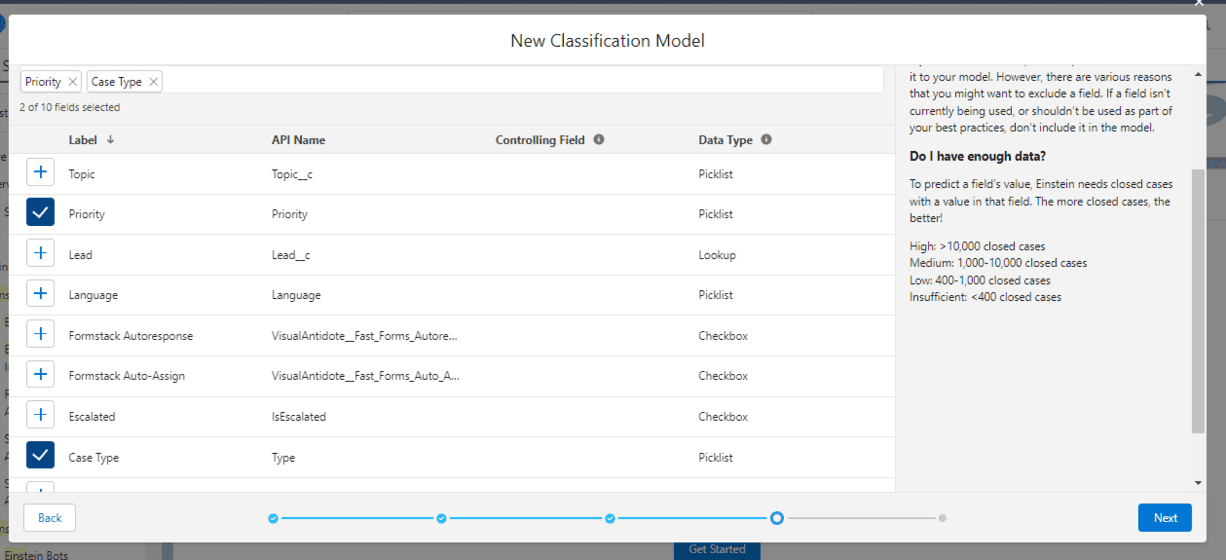
Step 7: Define Fields for Predictions
Select the field values that will drive your predictions. It’s important to have variety in the data (e.g., avoid too many records where the priority is always “Medium”). A minimum of 400 records with diverse values is necessary to build an effective model.
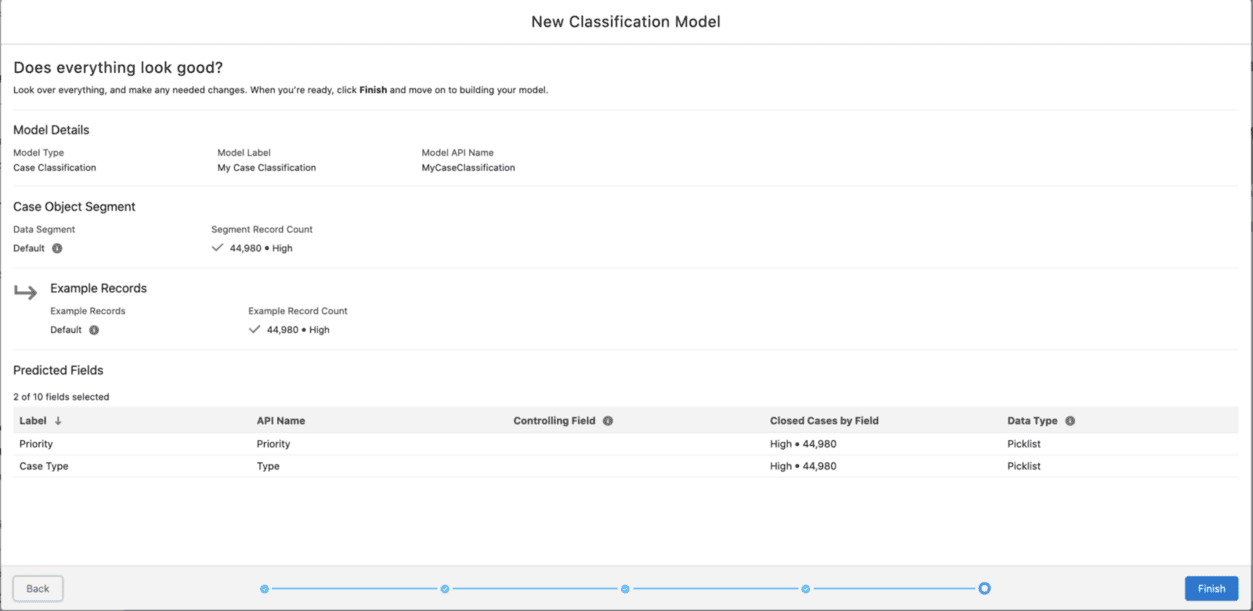
Step 8: Review the Model Summary
Before proceeding, review the predicted fields. Ensure the fields have a variety of values for better prediction accuracy.
It’s crucial to have various values because this is a frequent mistake.
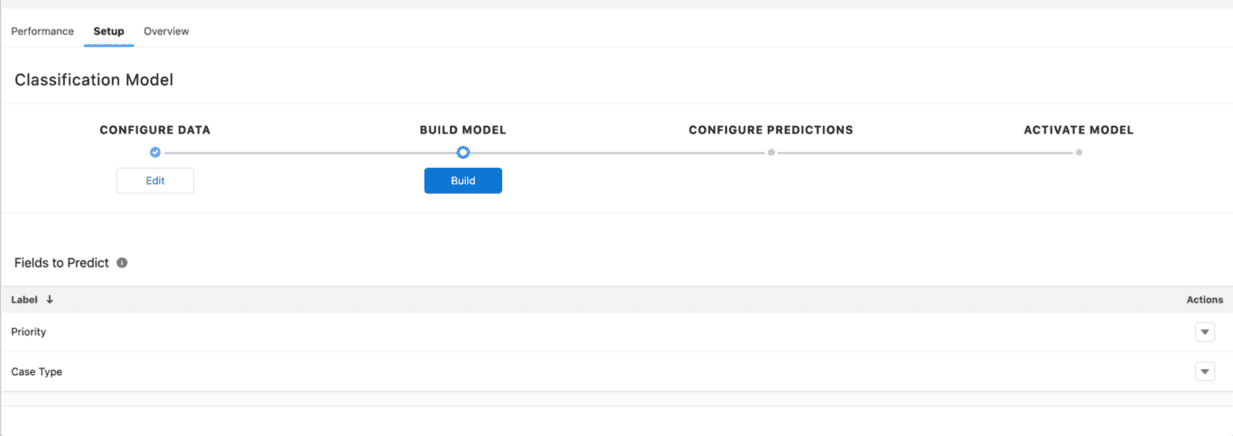
Step 9: Build the Model
Click Finish, and then select the model name on the Einstein Classification Setup screen. In the Setup tab, use the Action menu to delete fields or the Configure Data dropdown to add new fields. After this, click Build to initiate model creation. Salesforce will notify you via email once the model is built.
Step 10: Set Field Prediction Settings
Customize prediction settings by determining how automated the predictions should be. You can opt to have Einstein suggest the top three values for each field or fully automate the selection process. Adjust the prediction confidence threshold to set the minimum confidence level required for selecting values.
It depends entirely on how much data your organization has how long this will take. Whenever the build is complete, Salesforce will send you an email.

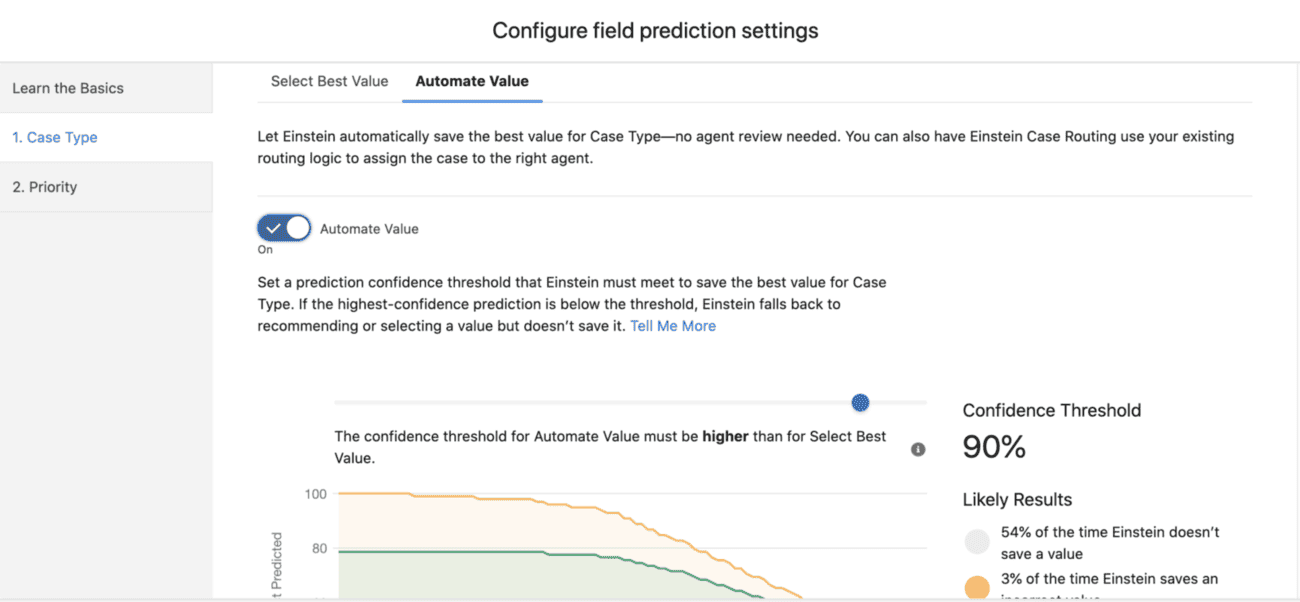
Step 11: Automate Field Value Population
To automate field population, enable the Automate Value option, which will populate the field with the best predicted value (labeled BEST) and update the confidence threshold.
You are instructing the model to display the highest values for the fields that require prediction in the section below. The model will display the values but won’t make any choices or settings for you. The prediction confidence threshold, which is your minimum necessary confidence level for choosing the best value, must be set here as well. The possibility that the suggested value for the field is accurate is represented by the prediction’s confidence level.
We can also instruct the model to automatically fill the fields with the best possible values. To activate the Automate value, click the Automate value tab. With the BEST label next to the value, the field will display the best value that has previously been chosen.

- We can also instruct the model to automatically fill the fields with the best possible values.
- To activate the Automate value, click the Automate value tab.
- With the BEST label next to the value, the field will display the best value that has previously been chosen.
- Once more, you must provide the prediction confidence threshold.
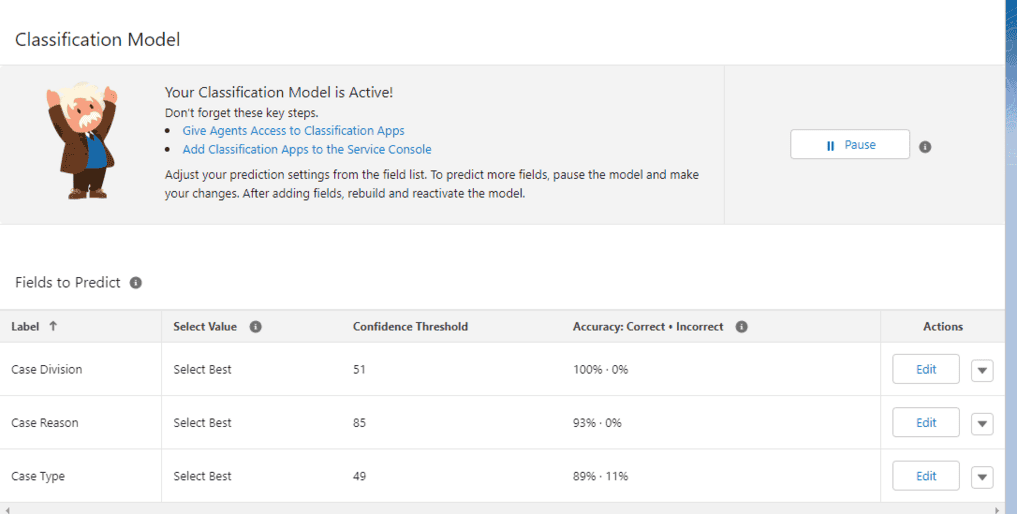
Step 12: Save & Close
Click Save & Close to update the prediction settings. These changes will now be reflected in the field list. Activate the model by pressing the Activate button.
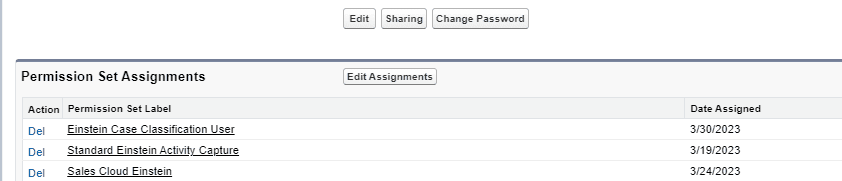
Step 13: Assign Permissions
Assign the required permissions to users by managing assignments in the Einstein Classification Setup.
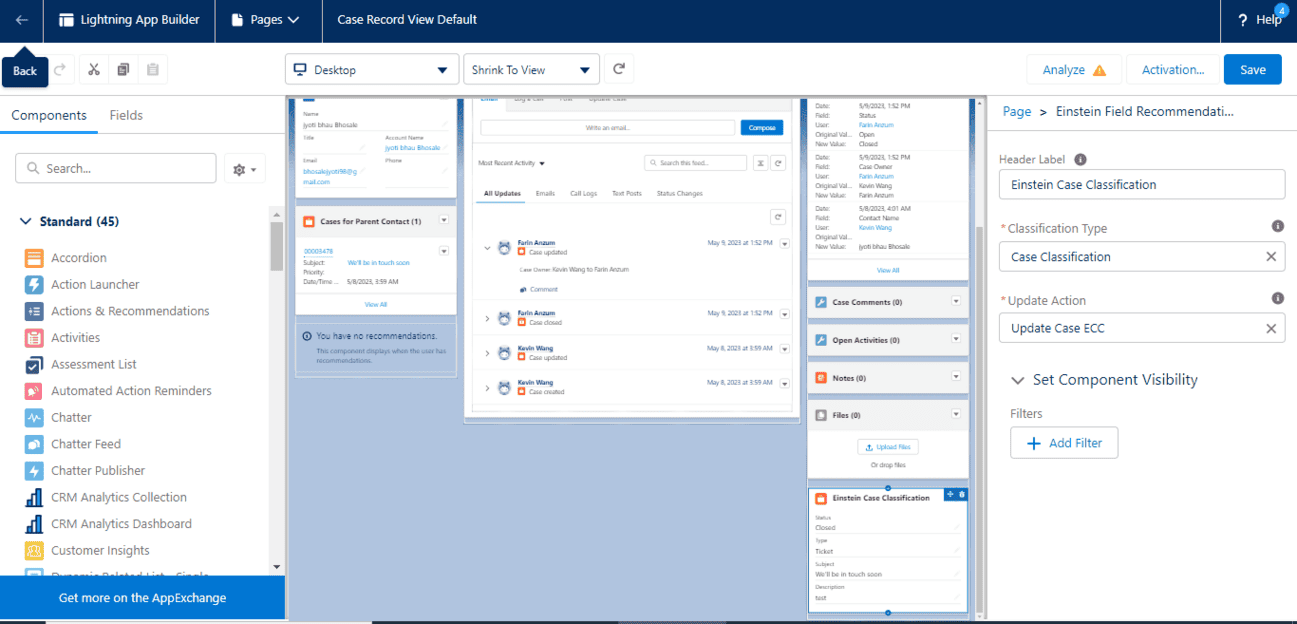
Step 14: Add Classification Apps to Case Layouts
Edit the Case layout to include the Einstein Field Suggestions component. This enables case classification directly within the Case interface. Adjust the layout to ensure the prediction fields are displayed.
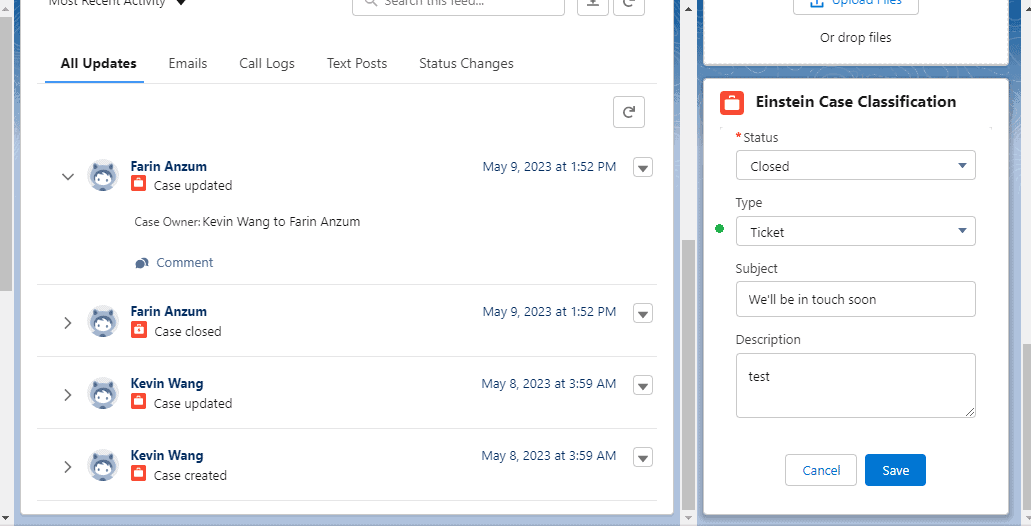
Step 15: View Einstein Suggestions
When a user creates a case, they will see an “Einstein Suggestions Available” link. Fields that are predicted will be marked with a green dot, allowing users to see Einstein’s suggested values by clicking on the relevant fields.
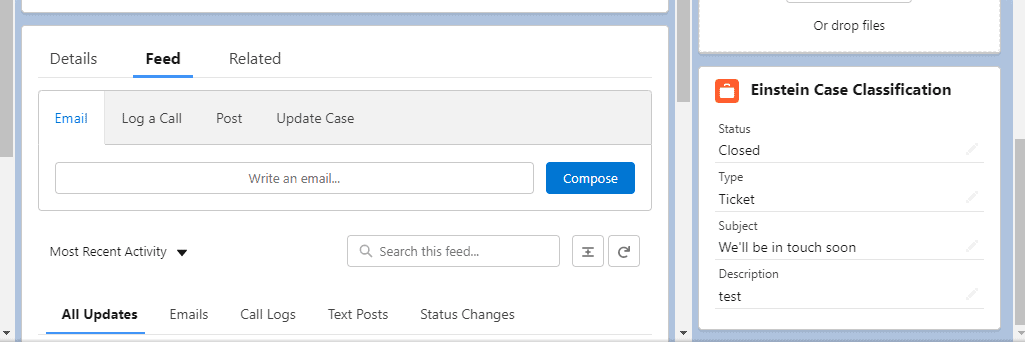
A clickable link labelled “Einstein Suggestions Available” will appear. Your chosen fields for prediction will be marked with a green dot when you click the link.
The Einstein Suggested Values are displayed when you click on any field with prediction functionality.
Conclusion:
By following these steps, you can configure and optimize Einstein Case Classification to improve accuracy and efficiency in case resolution. With proper model setup, varied data, and confidence threshold adjustments, Salesforce Einstein ensures your case management process is more intelligent and automated.
