
Integration of Salesforce with Prodsmart Using Zapier
In this post, we see about Zapier to Prodsmart Integration and in short, What Zapier and Prodsmart work.
What Is Zapier Integration?
When you want to get more done and have more impact at work, automation can be the helping hand you need. Zapier takes the manual effort out of busy work, helping you accomplish routine and repetitive tasks automatically, giving you time back to focus on your most important work. Zapier offers integrations between thousands of application APIs and allows users to create workflows to optimize nearly any aspect of their business. In Zapier, workflows are called “Zaps” and consist of two parts: a Trigger, which is the first event, and one or more actions, which occur in other applications when the trigger happens.
What Is Prodsmart?
Prodsmart is a manufacturing execution system(MES) and manufacturing resource planning(MRP) software developed. use of an MES solution should provide the ability to manage directly from the warehouse or production floor, and this is precisely what Prodsmart software provides. Prodsmart is intended to be used as a production data tracking software as well as an enterprise resource planning solution. Small, Medium, and large companies engaged in the manufacturing of auto parts, Plastics, fibreglass, electronics, textiles, apparel, packaged foods, paper products, and others use this software. Smaller shops use Prodsmart solely for production floor tracking purposes, large manufacturing facilities use it as a production module to augment their MRP, and ERP solutions can use Prodsmart.
Integration Of Zapier To Prodsmart:-
As we know now Zapier is used for integrations between thousands of application APIs and allows users to create workflows. we create a new workflow and it’s called “zap”. In Zap there are two Parts: The first one is Trigger and the second one is Action.
Poll for New Data With a Trigger:-
Zapier triggers get new data from your API, parse individual data fields, and let users include that data in subsequent Zap action steps. Triggers can run every time something new is added to an API endpoint or pushed to Zapier via a Webhook, or they can use filters to watch for specific items. In Zapier Trigger First we select our API that is Salesforce after that select Trigger Event that starts your Zap and we select our trigger event as Update Field on Record. In Zap there are different types of trigger events.
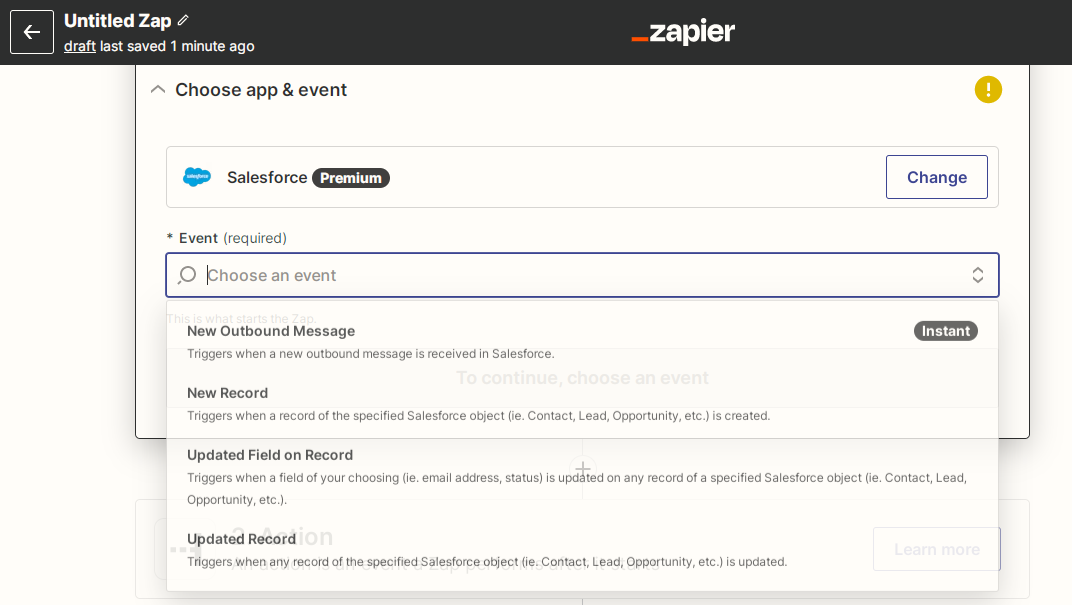
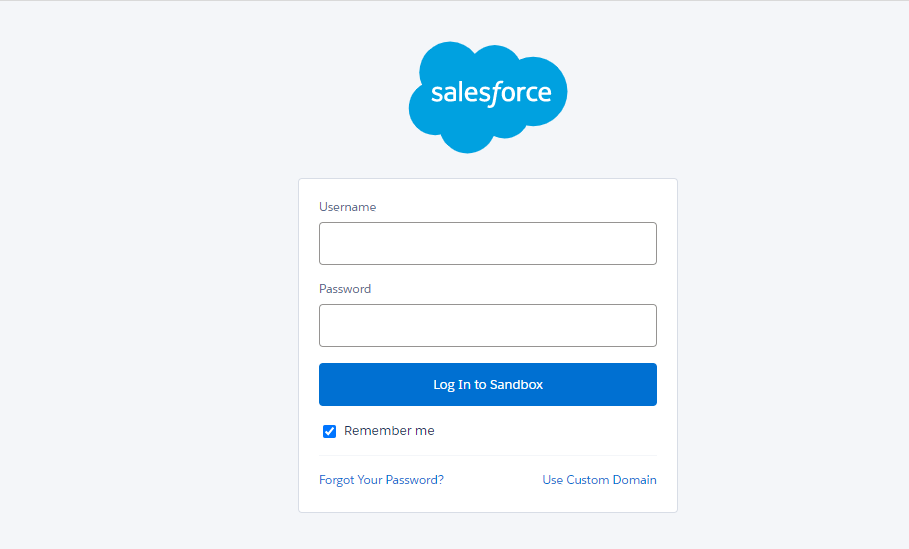
After selecting Choose API account and give access to records.
After giving Access a Trigger like Selecting object, a field in Salesforce then only our zap is working.
Example: We selected a Salesforce object like Order and for Field selected Prodsmart Order and set trigger if when Prodsmart order field is true the only zap will run.

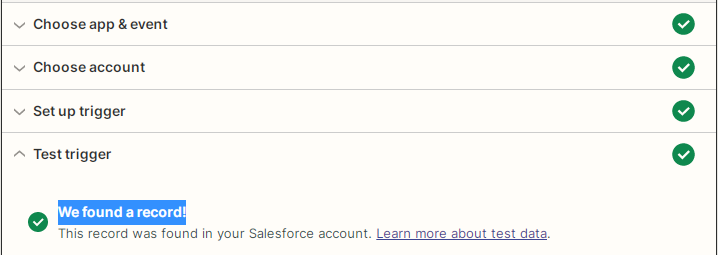
When In the salesforce order record whose prodsmart order field is true this record will trigger and come automatically in zap and then our trigger process is completed.
Zapier Action:-
Till now we see about Zapier Trigger but now Late see about the second part of zap that is Actions. Zapier actions push or put new data into apps through API calls that pass data from user-customized input fields. Action steps in Zaps can create new items in an app update existing items with a create action, or find existing items in an app with search actions. Search actions can optionally be paired with create actions to add a new item if the search does not return a result.
Actions should also return output fields detailing what was created (or found) so that data can be used in subsequent steps to build detailed workflows. Webhooks typically are used to connect two different applications. When an event happens on the trigger application, it serializes data about that event and sends it to a webhook URL from the action application—the one you want to do something based on the data from the first application. The action application can then send a callback message, often with an HTTP status code like 302 to let the trigger application know if the data was received successfully or 404 if not. By using Webhooks we send different types of requests.

Example: We select in Action webhooks by Zapier and as an event, we select Post request. and POST requests are used to send data to the API server to create or update a resource. In this example, we get the access token of the salesforce account.

To set up action In URL we give a standard URL to access Token (It’s used for Production if you want to use sandbox make sure Instead of login use Test) And Data set Username, Password, Client ID, client secret, Grant type. then we get our result in Test action. We can add multiple Actions in one Zap. In Zap add a new Action client on “+” (Plus).
Let’s see another Webhook Action using another event like Custom Request. In Custom Request firstly we need to select which type of method we used like POST, GET, DELETE, etc. In this example, we selected GET request. GET is used to request data from a specified resource. Custom request Have URL We use SQL stands for Structured Query Language. SQL lets you access and manipulate databases. In this Query we access Order-related Account details and also using sub Query get details of the Order product. To get these details in the Header use the access token that we get above using Post method.
We use Utilities in formatter by Zapier for Separated of Order Product. Utilities are mostly focused on working with lists or list items; they’ll let you split up lists, put them together, pick a single item from a list, and more. They’ll also let you build a simple lookup table, giving your automation the ability to handle several different scenarios with a single step. Add a Formatter step to your Zap, select the Text action, and then choose the Split Text transform option. Add the text you want to split to the Input field and the delimiter that’s splitting up the text to the Separator field.

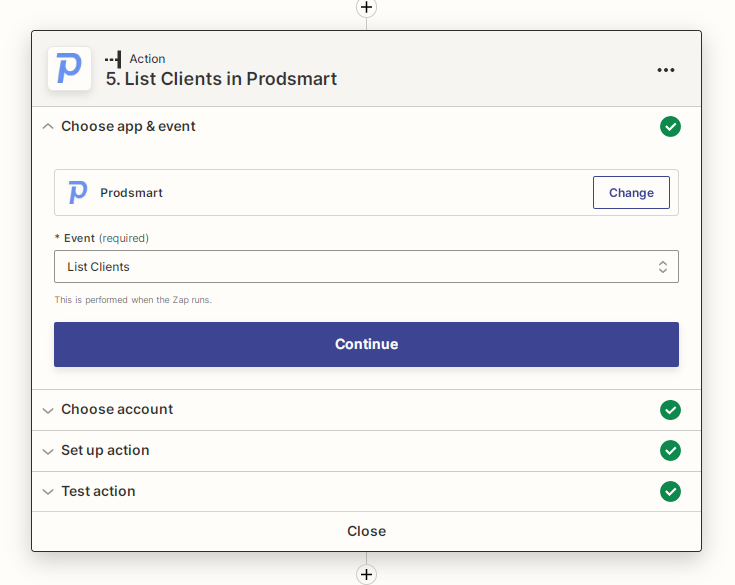
Let’s check the List of clients Prodsmart, In the above first step we get Account details using the GET Method. To get a List of clients we use the Account Name as a code. In Prodsmart Code is Unique.
Let’s see about Path in Zapier.
Zapier Paths tool is built to navigate those twists and turns with conditional workflows. Building on multi-step Zaps, Paths lets one Zap (our word for automated workflows) do different tasks depending on the data you provide. It’s a choose-your-own-adventure story for your work. At first, it might look like you’d need to build multiple Zaps to achieve this. Instead, you can use Paths to do it in one Zap. Paths lets you split your Zap into the different outcomes your data needs. Your Zap starts with a trigger app that tells Zapier something happened: Someone bought your product, emailed your team, created a new project, or found a bug to fix.
Example: In the above, we get a List of Clients now using Paths we check first whether the client exists or not. we need to set the path Rule first. If Client exists in Prodsmart then only this path is run.

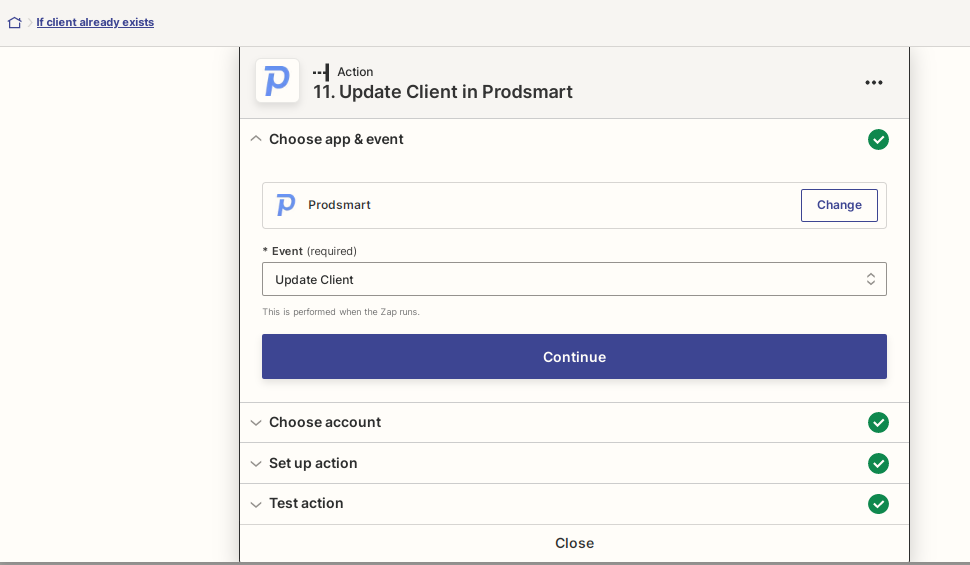
If the Client exists then run this path and go to the next step we use Code by Zapier using this action and selecting action Run Javascript, Separated Billing address and shipping address in Prodsmart format. After Separating Addresses Using Update Client Event We Update Existing Client Addresses.
Now Create a new Sales Order in Prodsmart related to the Client Order. For this, we need to create a sales order event.

Need to set up the create sales order action for this we use the Order Number as Code. code is required to create a sales order time of creating a sales order make sure that the Billing Address of the client and the Shipping address of the client is exactly match with sales order Address. If it does not match it’s a clause error in Zapier. creating sales orders Product and Quantity are required.
After setting up the action our sales order is created in Prodsmart.
The last Update These details are in the Salesforce record. For this need to add a new action select Update record event and set up this action with Order ID in the Prodsmart field updating all details that we get in the above steps means sales order details.

above Path works when a client exists in Prodsmart.
add a second Path and set up Path rules if the Client does not Exist in Prodsmart.

After Setting up the path rule if the client does not exist then the next step we create a new client. For new clients in Prodsmart, we select create client events.
for this Code and Client Name is required. We also create contact related to this client and set up Addresses.
Below are the Required fields in Prodsamrt to create a Client:
“Code”: Number that identifies the client.
“Name”: Name and surname of the client.
“VAT Number”: VAT identification number of the client.
“Address”: Address of the person or business.
“Phone Number”: Phone number of the person or business.
“Email”: E-mail of the person or business.

After Creating a New client in Prodsmart. We create Sales orders related to that new client and Update sales order details in Salesforce as we did for our first path.